

Tinkering with Tinkercad
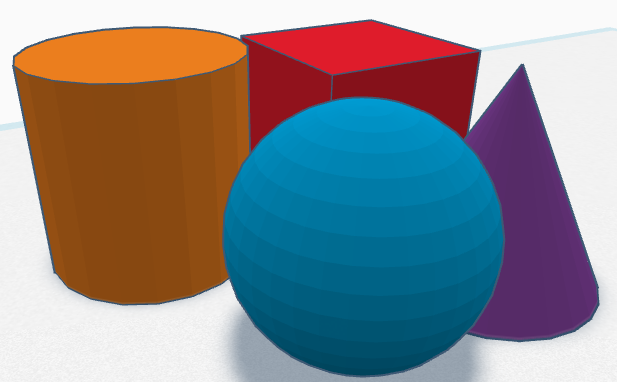
It has been a really long time since I last wrote a blog about 3D modeling and it’s overdue. Since I’m running a workshop on June 20th to teach others how to use Tinkercad for creating basic 3D models, I have had 3D modeling on my mind and have been planning how I want to expand on these opportunities.
One of the most gasp-inducing types of 3D printing I have had reactions to are articulated models, where the models are printed with moving sections that are connected similar to a chain, giving it an organic look and feel. You can find them for sale all over the internet with a simple search of “articulated 3D model”. Due to their popularity, I thought it could be a lot of fun to learn how to make this myself and share my developing skills with others. First, I decided to use an existing model, and I found a crocodile model available right in Tinkercad’s Shape Library. I added articulation based on a tutorial I followed here on Instructables and came up with the following result. (Rotate around to see the sections of the tail.)
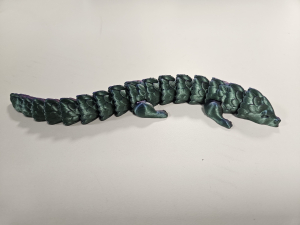
I always loved the articulated lung dragon made by McGybeer and purchased it on Cults3D a few years ago. This 27-hour print job has been printed on my personal 3D printer many times and I have given away over a dozen articulated dragons to friends and family since then. McGybeer has a brilliant design and I wanted to challenge myself to see what I could come up with. I love the spikey spine and the sharp scales of McGybeer’s model, but I wanted to create something softer looking for my dragon, so I began by creating a couple of sections and fine-tuning them until they aligned just right to be printed without touching each other. Then, I chained them together and worked out the details for the head, legs, and tail.
After using Tinkercad, I threw the model into Blender to sculpt the face and legs a little more and 3D printed it. The print was done with an iridescent filament and it turned out really nice. It has nothing on McGybeer’s models, but it’s a start!
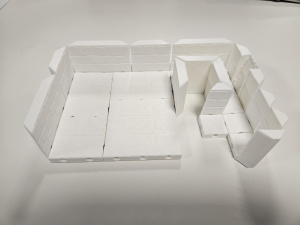
Another project I stumbled upon had parts that could be assembled using LEGO Pins, which are the little black or gray connectors that tend to be used in the more mechanical LEGO models or robotics. I found a design specifically for dungeon tiles here on Instructables, which may be used in a tabletop roleplaying game or a fantasy board game. I realized that I wasn’t fond of the design they presented and their explanation for the pinholes was difficult to follow, so I ended up taking a calipers and doing my own measurements. I also wanted my design to be modular with 1-inch tiles, so a single pin would be used at the center of every 1-inch section.
The final result for the tiles turned out great and I really hope to share this with others in future programs. I think this technique could be used for much more than just gaming such as architecture, scale modeling, dollhouses, etc. Once someone has their pinholes, they can easily copy it to any other model to be used for any purpose they can think of.
If you are interested in attending the basic class, keep in mind that we will not be jumping to this level of creation and only focusing on the basics. You can find the registration page here for ages 10-12 and here for teens and adults.
If you are interested in our 3D printing service, you can read the criteria and submit your request here.



Add a Comment
Now we'd like to hear your thoughts! Comments and suggestions are welcome!